- Anyone hearing a repeated clicking or snapping noise from the X-axis during printing
- Anyone who has noticed black powder or debris falling inside the printer
- Anyone who feels resistance or catching when the head carriage moves along the X-axis
- Anyone operating a high-usage machine who has never inspected the belt condition
- Engineers who want to perform an X-axis Pully Belt replacement themselves
- Replace the belt before it breaks completely. If the machine runs with a broken belt, the head carriage loses control and expensive components such as the print head can be seriously damaged.
- The motor must be level during belt replacement. If it is not, the new belt will contact the top and bottom edges of the pulleys, causing noise to recur and accelerating wear.
- Mark the tension bolt position before loosening it. This gives you a reference point for re-tensioning after the replacement.
- After replacement, do not power on immediately — move the head carriage by hand first to confirm the belt is not touching the pulley edges.
- X-axis noise → Visually inspect the belt condition first. Even if powder is present, the belt may look intact — always check the entire length.
- To locate the noise source, power off and move the head carriage by hand — this is the fastest way to find the problem area.
- Belt replacement order: Motor block bolts → Tension bolt → Remove old belt → Install new belt → Re-tension → Check level.
- For high-usage machines, regular belt inspections are the best way to prevent damage to expensive components.
Clicking noise from the X-axis — X-axis Pully Belt replacement
I. Symptom — Clicking Noise from the X-Axis
This is a high-usage machine.
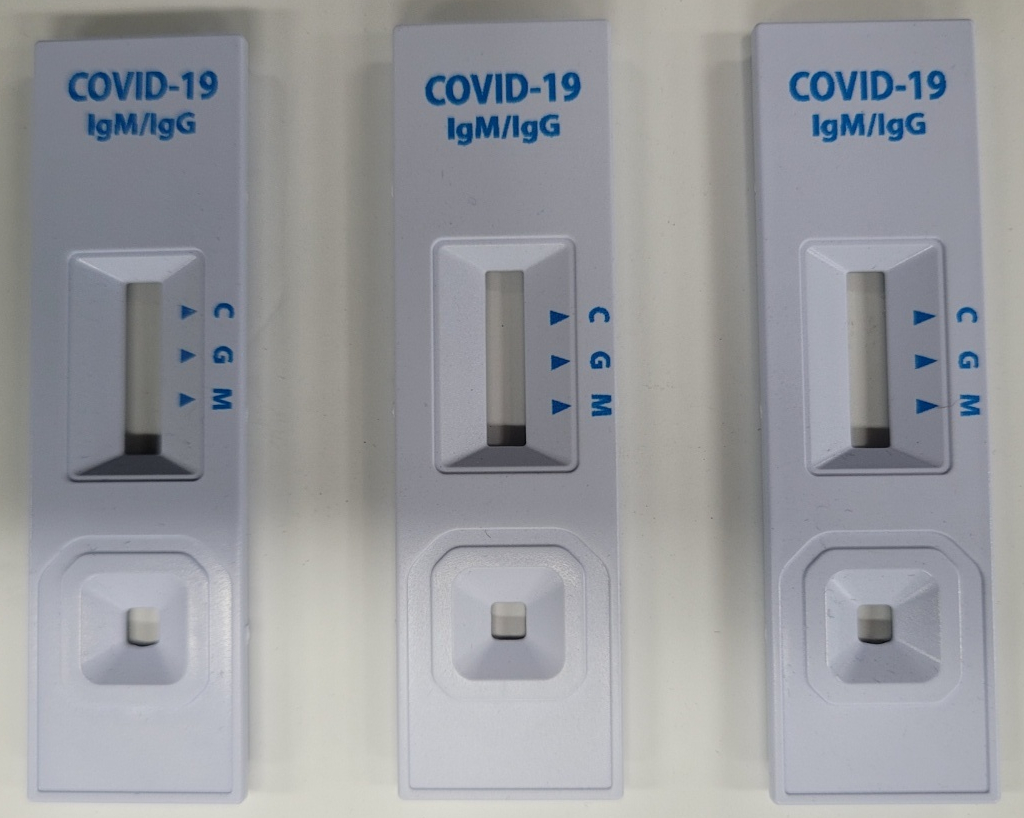
It may be largely forgotten now, but this printer was used to produce Covid test kits during the pandemic.
It ran 24 hours a day in two shifts for an entire year at a Tier-1 Samsung vendor producing Covid test kits. Once the pandemic subsided, we repurchased the unit, refurbished it, and sold it to another customer.
The problem occurred 7 months after the refurbished unit was delivered.
Here is a detailed description of the symptom.
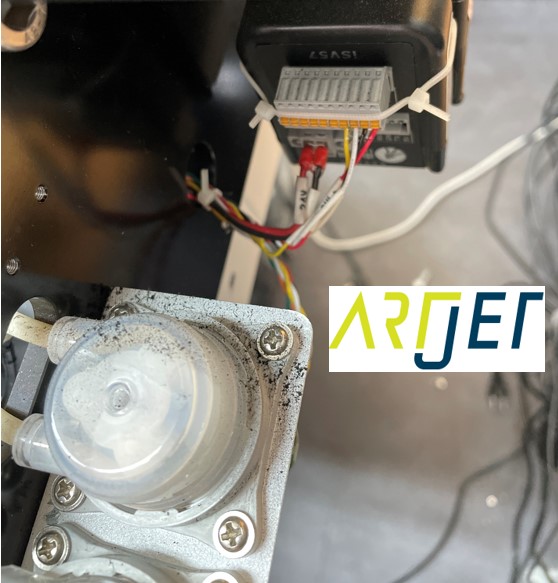
- We received two photos from the customer.
- Looking at the first photo, black powder was visible — it appeared the belt had been grinding and shedding debris.
Clicking Noise from the X-Axis - But looking at the second photo, the belt appeared intact.

Clicking Noise from the X-Axis - Yet every time a print job ran, a clicking noise occurred.
- Click the video below to hear the sound.
II. Cause and Resolution — Clicking Noise from the X-Axis
1. On-Site Inspection
When an X-axis noise issue occurs, the best approach is to move the head carriage manually and inspect the belt along the full travel path.
- Press the left button to move the head carriage toward the flatbed, releasing the capping position.
- Then power down in order: Software Off → Power button Off → Main switch (rear) Off.
- With all power disconnected, the head carriage and flatbed can be moved by hand.
- Slowly move the head carriage along the X-axis and visually check the belt condition at the point where the noise occurs.
- The customer’s photos showed the X-axis Pully Belt looking intact — but after inspecting the entire length on-site, we found a section where the belt had worn through.
-

Clicking Noise from the X-Axis
2. How to Replace the X-Axis Pully Belt
Belt replacement was required. Below is a step-by-step guide to the replacement process.
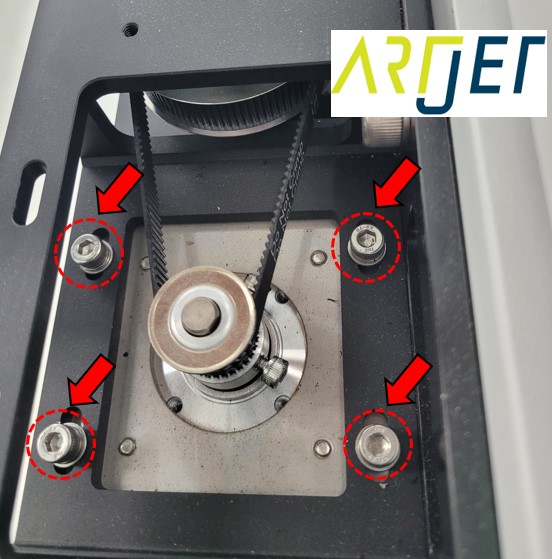
1. Loosen the motor block fixing bolts
- The X-axis motor is held by 4 motor block fixing bolts.
- Begin by loosening all 4 bolts.
-
Clicking Noise from the X-Axis
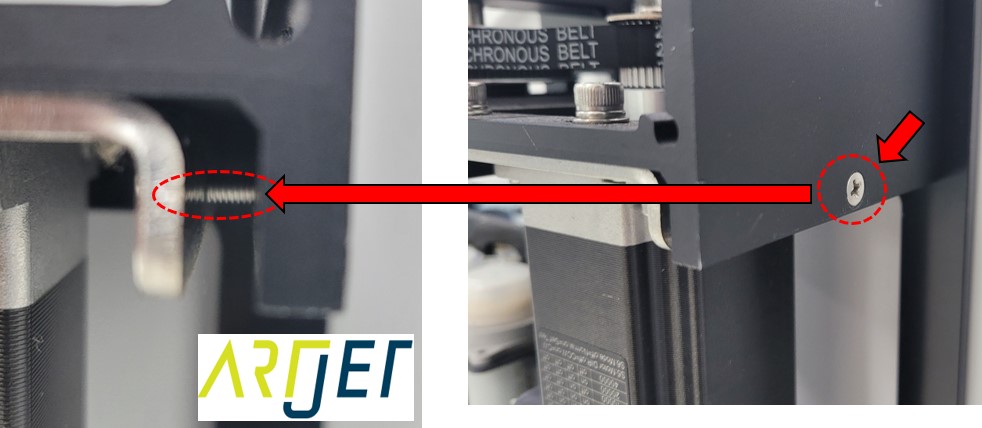
2. Loosen the belt tension bolt
- Locate the X-axis motor belt tension bolt.
- Loosen the tension bolt to release the belt tension.
- Tip: Mark the bolt’s tightened position before loosening — this serves as a reference point when re-tensioning after replacement.
-
Clicking Noise from the X-Axis
3. Remove the damaged belt
- With both the motor block bolts and tension bolt loosened, there is now play in the motor block.
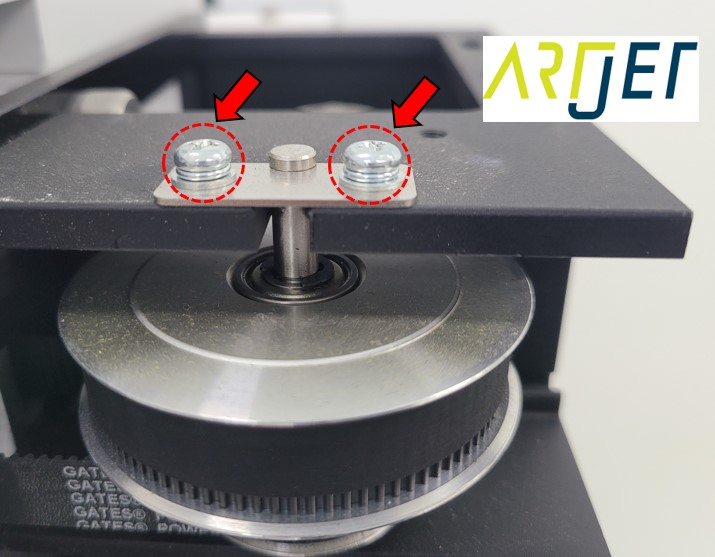
- Remove the two bolts securing the pulley — this allows the entire pulley to be pulled slightly forward.
- Pulling it forward creates a gap, and through that gap the damaged belt can be removed.
-
Clicking Noise from the X-Axis
4. Install the new belt and reassemble in reverse order
- Feed the new belt through the same gap used to remove the old one.
- Use the tension bolt to set the appropriate tension, then tighten the motor block bolts to secure everything in place.
5. Check belt tension and motor level (critical)
- When tightening the motor block bolts, make sure the motor is perfectly level. If it is not, the belt will contact the top or bottom edges of the pulleys — causing noise to return and accelerating wear on the new belt.
- After installation, do not power on yet. Move the head carriage slowly by hand and confirm the new belt is not touching the pulley edges.
- If the belt is contacting a pulley edge, slightly loosen the motor block bolts, adjust the motor level so the belt sits centered on the pulleys, then re-tighten.
- Once the belt runs cleanly without contact, tighten the motor block bolts to their final position.
III. ARTJET UV Printer

핑백: What You Must Know About Bidirectional Printing — Mechanical Issues (EP.3) ARTJET 2026
핑백: Symptoms of a Misaligned Bidirectional Offset — Mechanical Issues (EP.4) ARTJET 2026
핑백: Problems Caused by Wiper Height — Mechanical Issues (EP.5) ARTJET 2026
핑백: The Cleaning Wiper Won't Move
핑백: Software Won't Connect — Mechanical Issues (EP.7) ARTJET 2026
핑백: When the Anti-Crash Sensor Gets Jammed in the Captop — Mechanical Issues (EP.9) ARTJET 2026
핑백: How to Prepare the Electrical Supply for Your Printer — Mechanical Issues (EP.10) ARTJET 2026
핑백: Printer Mechanical Troubleshooting 10 Case Studies