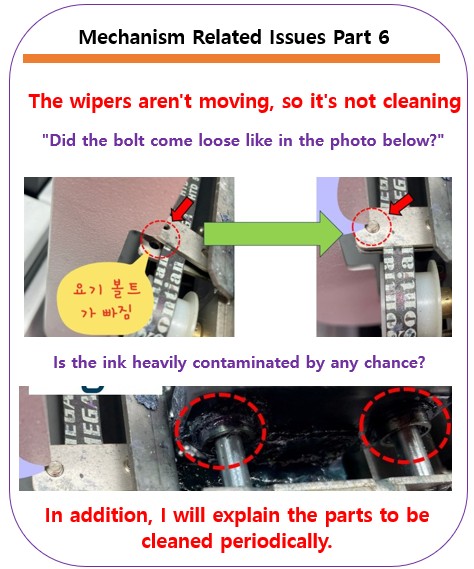
- Anyone whose cleaning cycle runs but the wiper blade does not move back and forth
- Anyone whose head surface doesn’t seem to be getting properly wiped after cleaning
- Anyone operating a high-usage or long-running machine
- Anyone who wants a clear list of parts that need regular cleaning — wiper, Captop, head carriage underside, and more
- Anyone experiencing recurring print defects caused by accumulated ink contamination
- If hardened ink remains on the wiper blade, it can be pushed into the nozzles during cleaning, causing clogs. Wipe the blade with an alcohol cloth after every cleaning cycle.
- When cleaning the head carriage underside, always use a separate cloth for the head surface. Using a contaminated cloth on the head nozzle area will cause nozzle contamination.
- If the LED lamp underside is coated in ink, UV curing performance will weaken. Clean it with an alcohol cloth at least once a month.
- Hardened ink buildup on the Captop rubber seal prevents a proper seal with the head, reducing the effectiveness of cleaning and pumping operations.
- Wiper not moving: two main causes — ① loose screw on belt linkage plate → retighten / ② ink contamination buildup → clean
- If there’s no error message but the wiper just won’t move, check the belt linkage plate screw first.
- 5 areas requiring regular cleaning: LED lamp underside / wiper blade / Captop seal / head carriage underside / surrounding dust
- Always use separate cloths for the head carriage underside and the head nozzle surface.
The cleaning wiper won’t move — loose belt screw & ink contamination cleaning guide
I. Symptom — The Cleaning Wiper Won’t Move
This machine ran 24 hours a day in two shifts for one year, then was refurbished and delivered to a customer who used it for another 2 years and 6 months — a total of 3 years and 6 months of use.
When Print head cleaning is executed, no error message appears in the software.
However, the black wiper blade does not move back and forth, meaning the head surface is not being properly wiped.
II. Resolution — The Cleaning Wiper Won’t Move
1. A Cause That Can’t Be Diagnosed Remotely
Based on the symptom description alone, several possible causes come to mind.
- A motor problem?
- A limit sensor not being detected during the cleaning cycle?
- Belt tension too tight?
- Belt worn out?
- Movement blocked by heavy ink contamination?
But the actual cause turned out to be surprisingly simple.
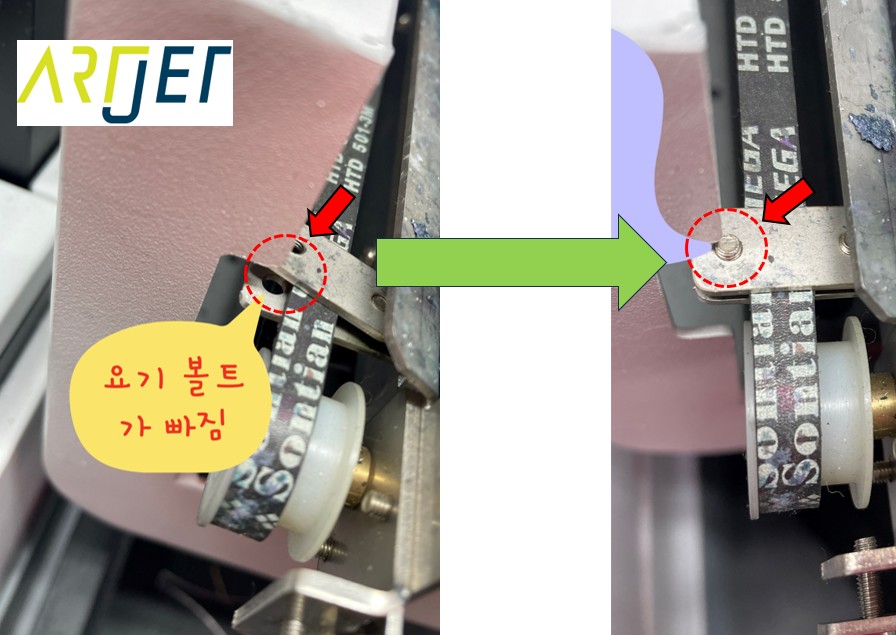
- The wiper moves back and forth via a belt-driven linkage plate —
- but the screw securing the wiper to the belt linkage plate had come loose. The belt was moving, but the wiper wasn’t going with it.
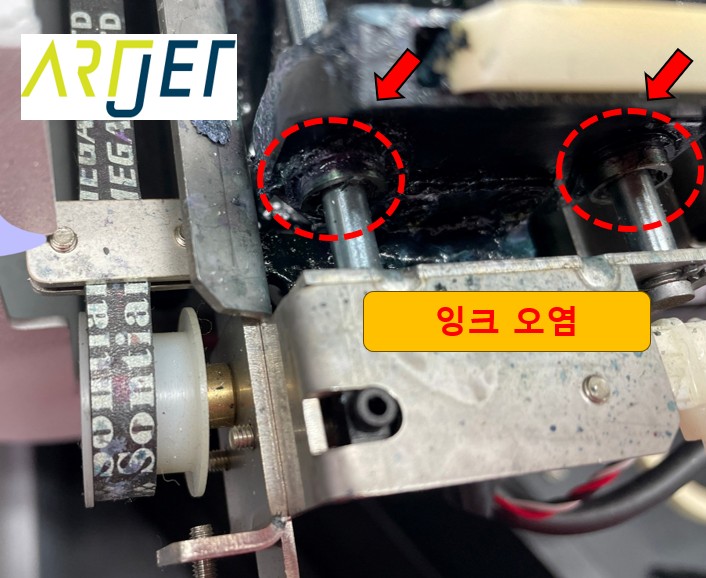
2. Same Symptom, Different Cause — Ink Contamination Buildup
Here is another case from a different location with the same symptom.
- A customer who never performed any maintenance reported that the cleaning cycle wasn’t working.
- We advised them to clean the ink-contaminated areas and try again — but it didn’t help. Eventually we visited on-site and resolved it simply by cleaning.
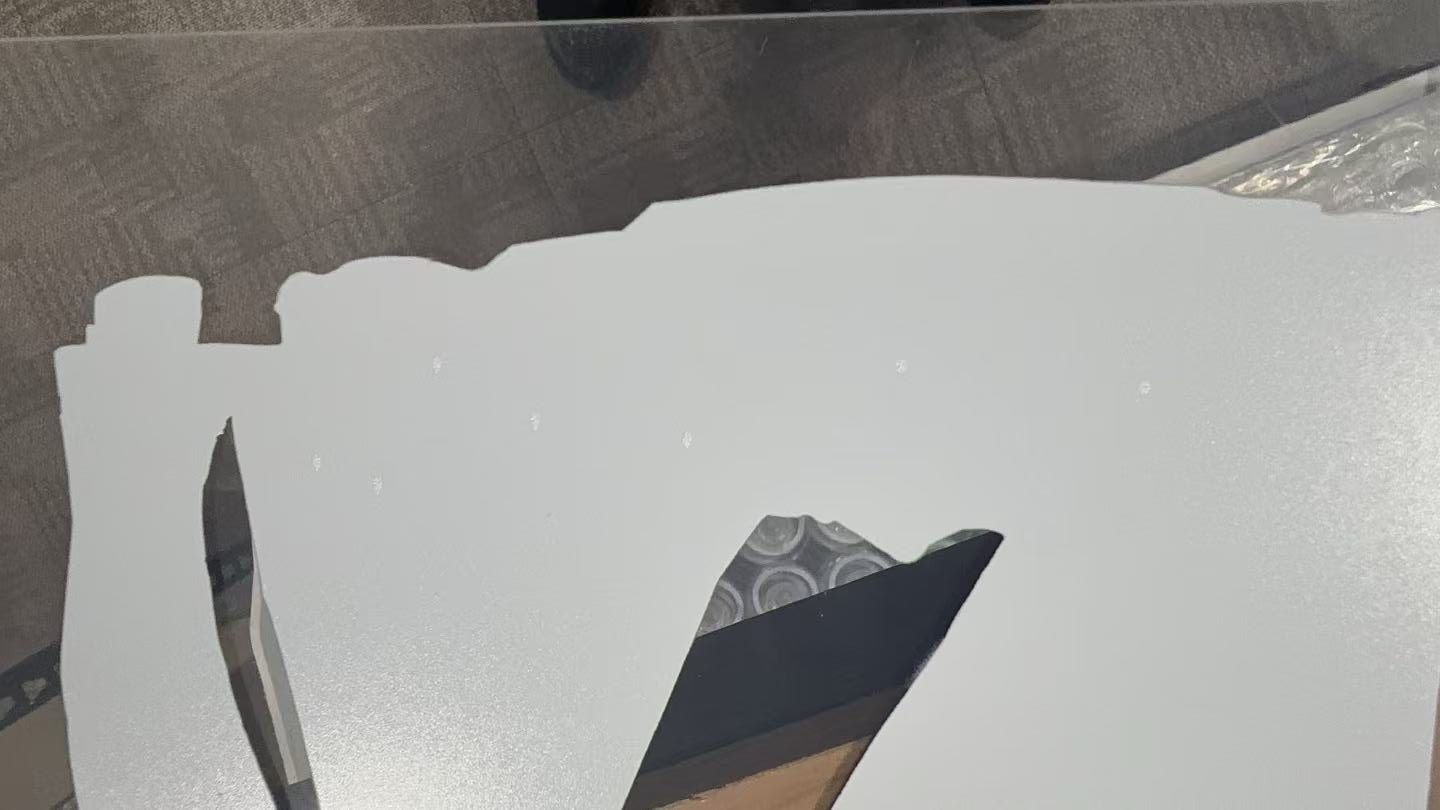
- When the circled area in the photo below becomes excessively clogged with ink, the belt can no longer move the wiper.
- This area must be cleaned regularly to prevent buildup.
5 areas that require regular cleaning
1. LED lamp underside — remove ink contamination
- The surface where LED light is emitted must also be wiped regularly.
- If this area becomes coated in ink, the ink blocks the LED light and UV curing performance weakens.
- Wipe with an alcohol-dampened cloth at least once a week, or at minimum once a month.
- If alcohol won’t remove the residue, carefully scrape it off with a blade. Regular maintenance prevents it from hardening to that point.
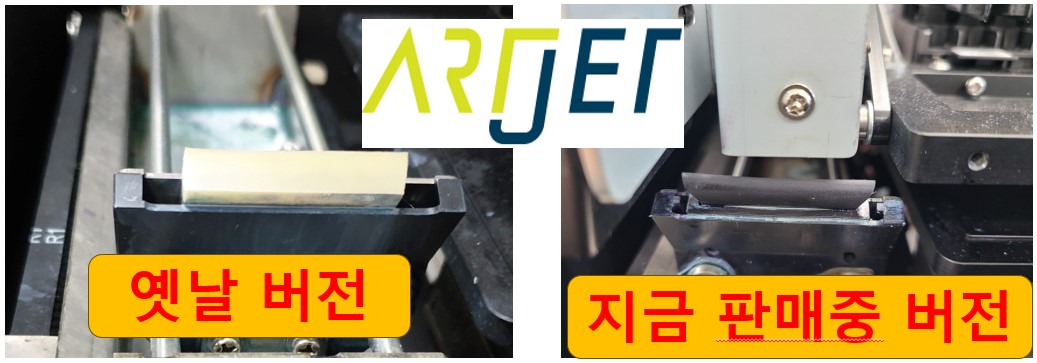
2. Wiper blade — remove ink contamination
- If the wiper blade is not wiped down, residual ink on the blade will harden.
- During cleaning, this hardened ink gets dragged across the head surface and can be pushed into the nozzles, causing clogs.
- Wipe the wiper blade with an alcohol cloth after every cleaning cycle.
3. Captop seal — remove ink contamination
- When hardened ink accumulates on the rubber seal of the Captop, it prevents a proper seal with the head.
- Without a proper seal, cleaning and pumping operations (inkload, inkfill) cannot extract ink from the head effectively.
- Wipe the Captop seal regularly with a cloth.
4. Head carriage underside and Anti-crash bar — remove ink and dust
- Raise the head height to 100mm, move the carriage over the flatbed, and inspect the underside — it will be covered in dust and ink.
- Ink droplets clinging to the carriage underside can fall onto the substrate during printing, causing print defects.
- Thread-like strands of dust can also sweep across wet ink during printing, creating streaks and print defects.
- Wipe the head carriage underside with a cloth once a week.
- Important: never use the same cloth that touched the carriage underside on the head nozzle surface. Always use a separate, clean cloth for the head.
5. Dust around the printer
- The head carriage generates airflow as it moves, and the continuous LED exposure creates static electricity during printing.
- This airflow and static can transfer surrounding dust onto the substrate being printed, ruining the output.
- Regularly remove dust from the flatbed and the area around the printer.
III. ARTJET UV Printer

핑백: Software Won't Connect — Mechanical Issues (EP.7) ARTJET 2026